Step 4 of 7

Collect files with Vault Intake

View guide hub
  1. 1. Create and unlock
  2. 2. Upload and organize
  3. 3. Share safely
  4. 4. Vault Intake
  5. 5. Plans and storage
  6. 6. Recovery and access
  7. 7. Delete and restore
Vault Intake

Collect files with Vault Intake

Vault Intake lets people outside your Vault submit files directly into the Vault you choose. They can send files in, but cannot browse your existing Vault contents.
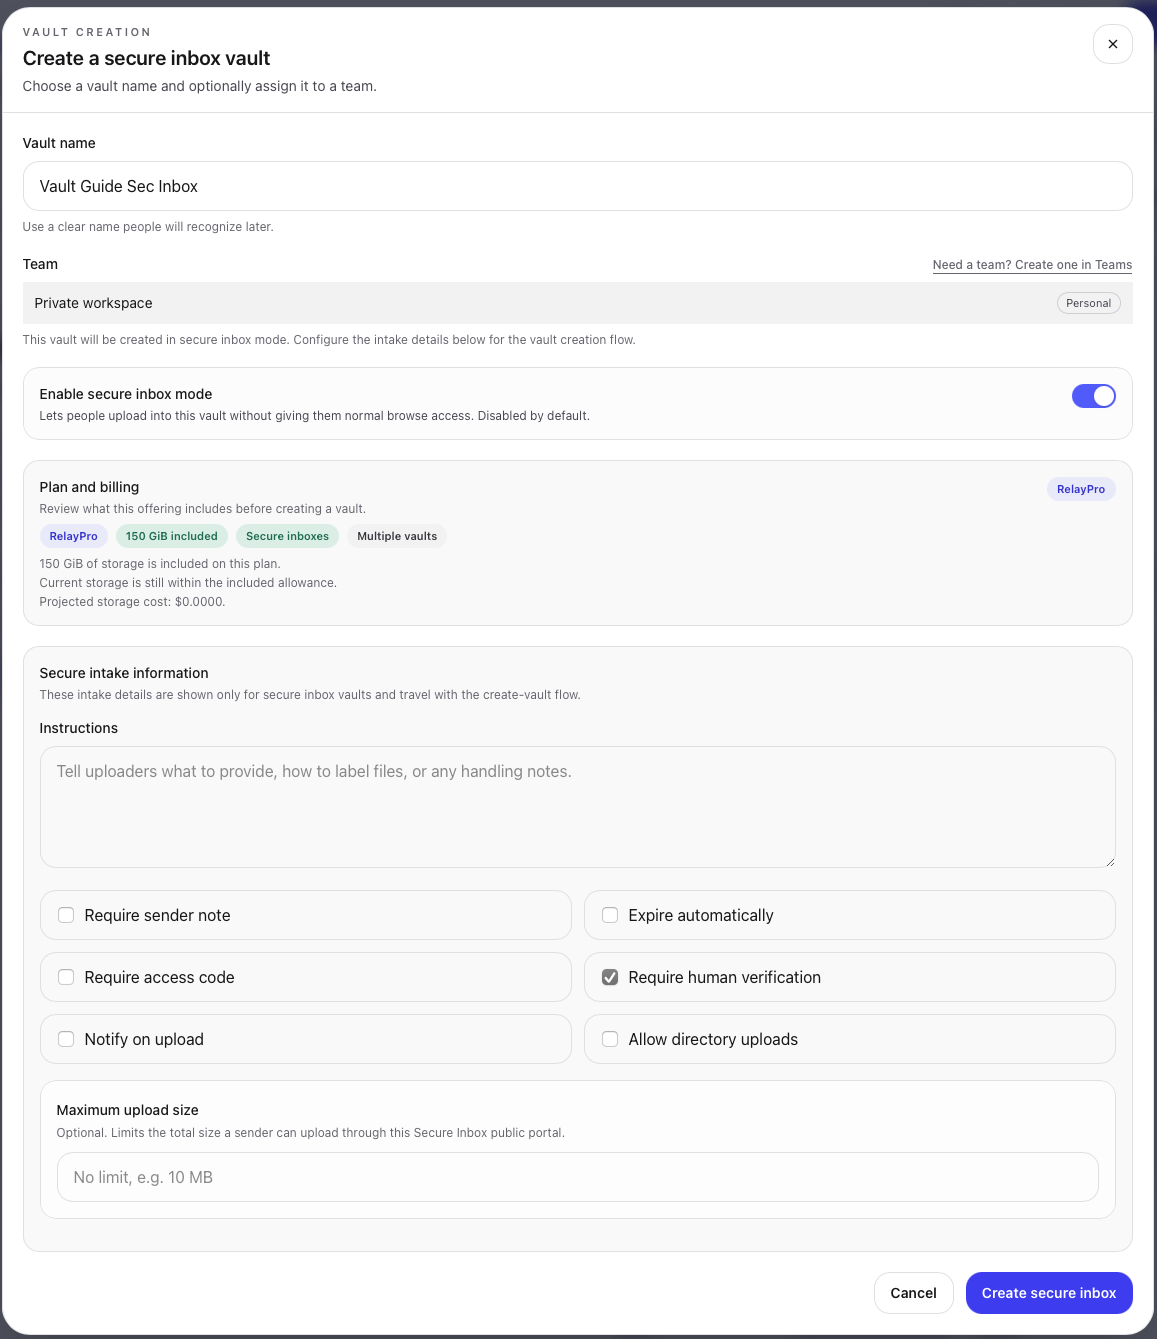
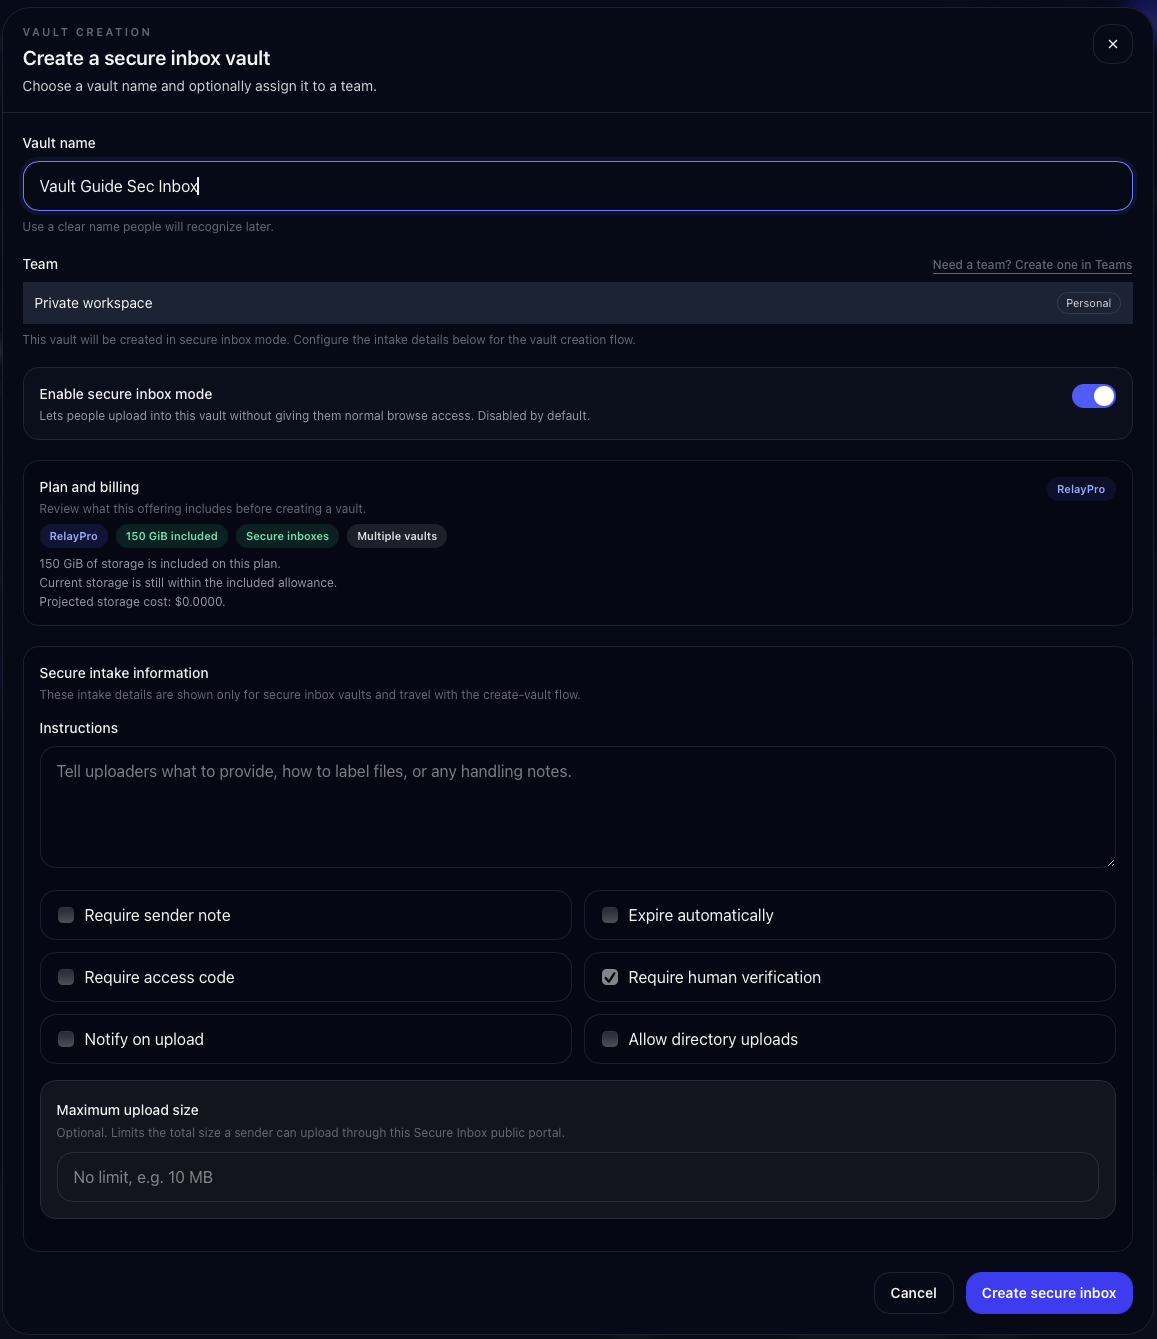
New Vault dialog with Enable Vault Intake mode and intake controls visible.

Set up Vault Intake

  1. 1. Start a dedicated Vault. Choose the Vault that should receive files for this client, project, team, or workflow.
  2. 2. Enable Vault Intake. This prepares a public upload path for senders without granting them Vault access.
  3. 3. Add instructions. Tell senders what to upload and what details to include.
  4. 4. Choose controls. Consider sender notes, access codes, human verification, expiration, and notifications.
  5. 5. Share the intake link. Send it to the person or group that should upload files.

Public links should usually have an access code

If you publish a Vault Intake link on a website, social profile, or other public place, strongly consider requiring an access code. The link gets people to the upload page; the access code adds another gate before upload.

What senders can do

  • Open the upload link
  • Read your instructions
  • Add files and sender notes
  • Submit files into the Vault chosen for intake

What senders cannot do

  • Browse your Vault contents
  • See unrelated files
  • Manage your workspace
  • Turn the upload link into team access

Continue the guide

Keep following the Vault path